The final part of tying a Steel Back Nymph, and also a very important one, is the application of epoxy. As well as dressing the nymph it also helps to lock the stainless steel wires in place adding more strength as a result. I use a slow drying epoxy which, although taking longer to set, makes for a stronger fly. You can use UV epoxy which is obviously faster but personally I’m happy to sacrifice time for strength! The only issue with slow drying epoxy is that it can tend to run while drying. If you have an epoxy fly dryer, the rotation keeps the epoxy in place until it dries enough to stop running. The alternative is to check your fly after 3-5 minutes using a dubbing needle to reposition any wayward glue.
It can be a good idea to turn your fly over at this point and leave it upside down for a while. Use the edge of a table or box to keep the steel back off the surface. It doesn’t hurt to check again after another 3 minutes or so and return your SBN to an upright position. Use classic hackle pliers to hold the nymph whilst applying the epoxy. It’s a good idea to grab the fly from the front (eye end) so that when the epoxy is tacky you can dig the nymph into some plastazote closed cell foam. It can then be left until completely dry.
Most epoxies come in 2 parts and must be of equal quantities and well mixed. Even slow drying epoxy tends to start going off after 10 – 12 minutes (always sooner than the instructions say in my experience!) so I suggest you only mix enough for that time otherwise the epoxy becomes tacky and unusable. Don’t be tempted to add extra hardening to speed up drying! You will end up with the opposite result and an unsatisfactory finish. I use a dubbing needle to apply the glue. Adding a wafer thin paper under the steel back before applying the epoxy helps to avoid getting glue on your dubbing and thorax.
Some tips to help with applying epoxy to your SBN:
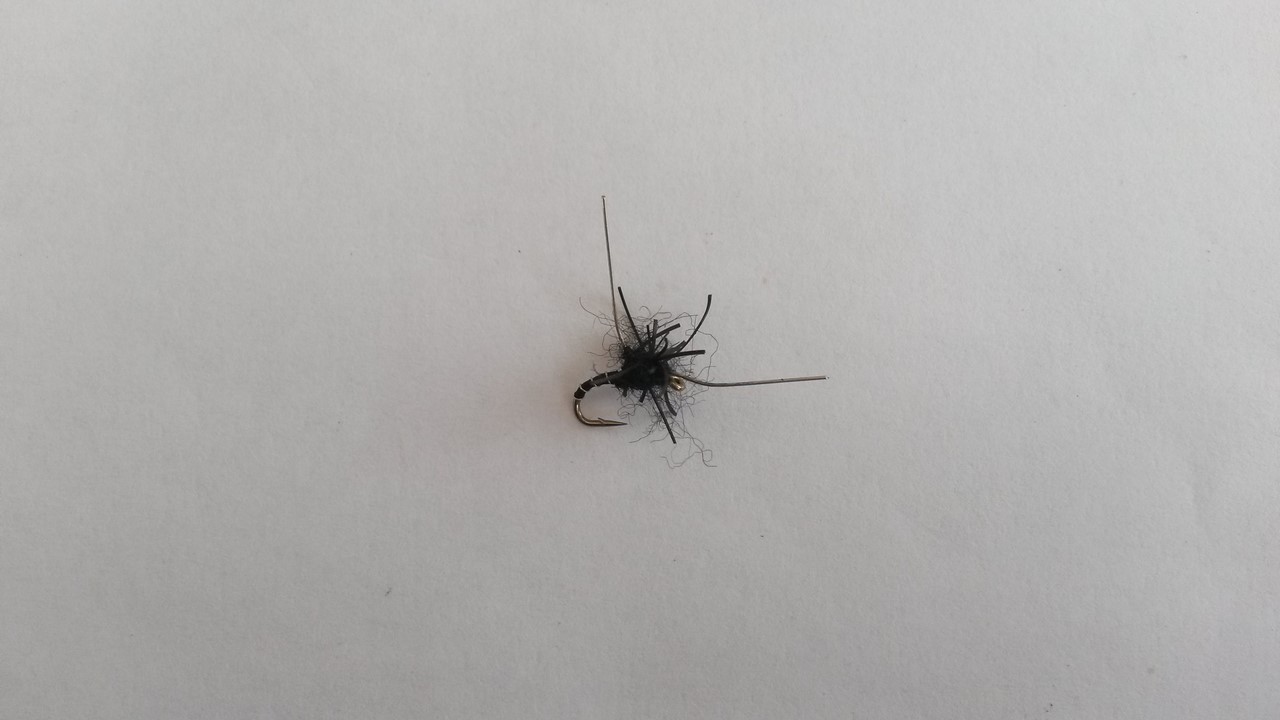
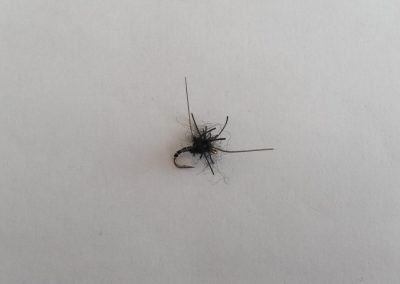
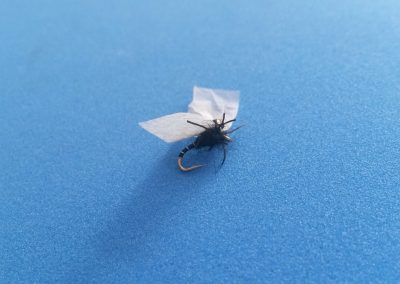
1. The SBN (this one is a SBN050) has been tied and ready for the steel back to be attached.
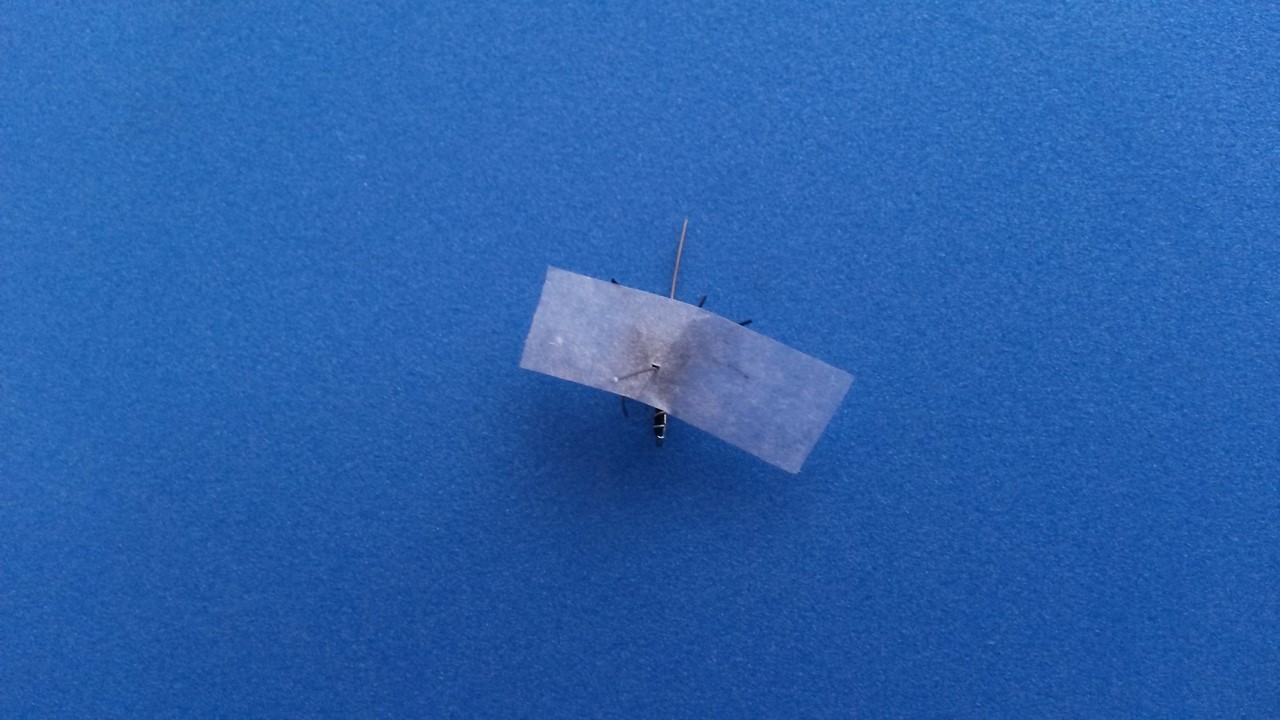
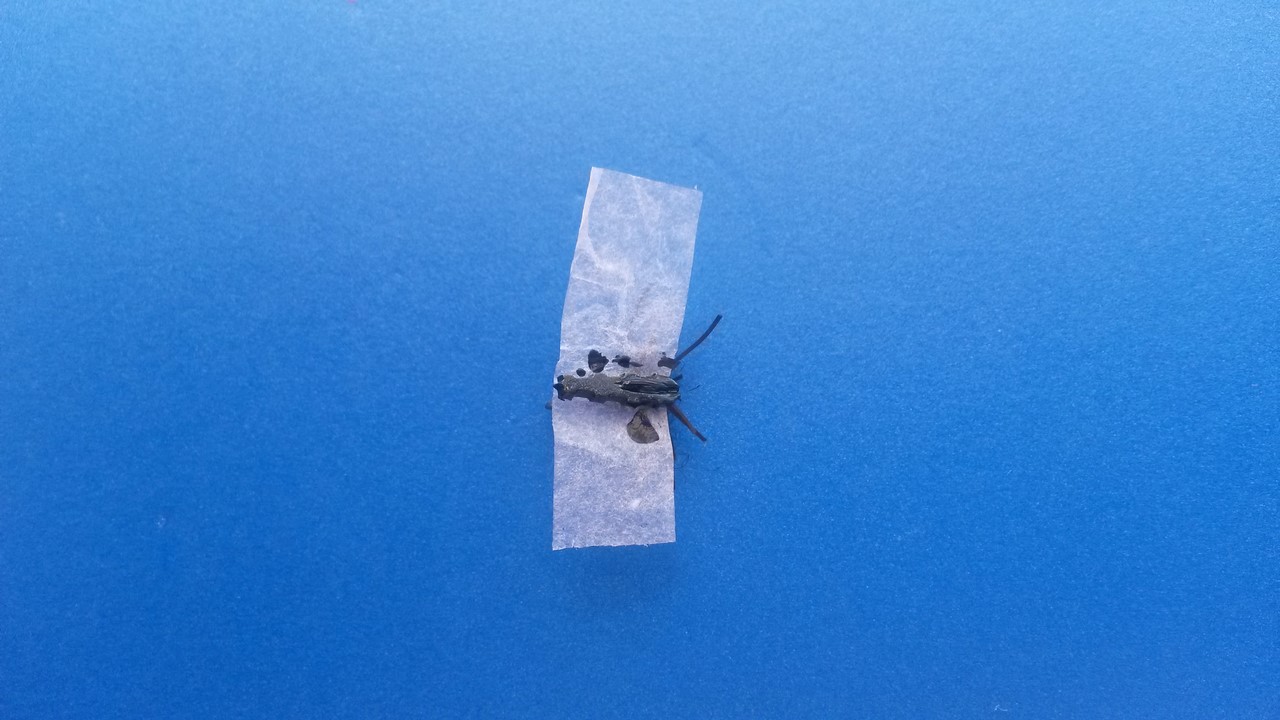
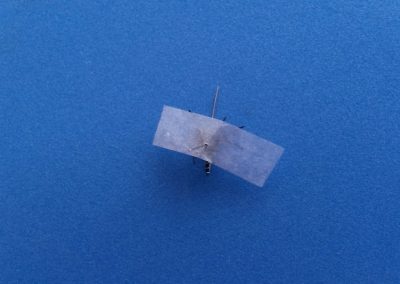
2. Use a sliver of very fine paper (20mm X 8mm approx. Paper out of a shoe box is ideal) and place this over the vertical wire before adding the back.
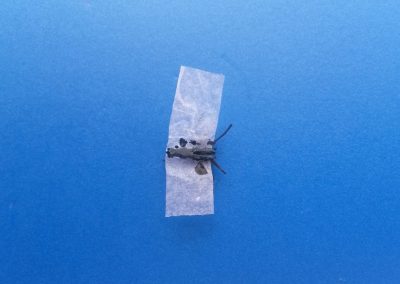
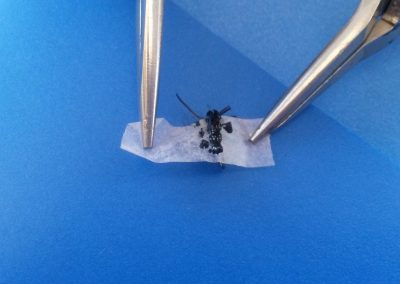
3. Add the steel back and bring the vertical wire forward through the « jaws » and tuck it back underneath the steel back keeping ABOVE the paper. Pull the wire sticking out over the eye through the jaws in the opposite direction. Keep the steel back hard down and squeeze the jaws shut with flat nose pliers. Trim excess wires and ensure rearward wire is positioned under the steelback. Use narrow long nose pliers to squeeze the steel back down towards hook shank.
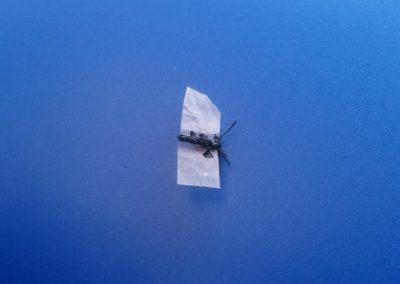
4. A view from underneath.
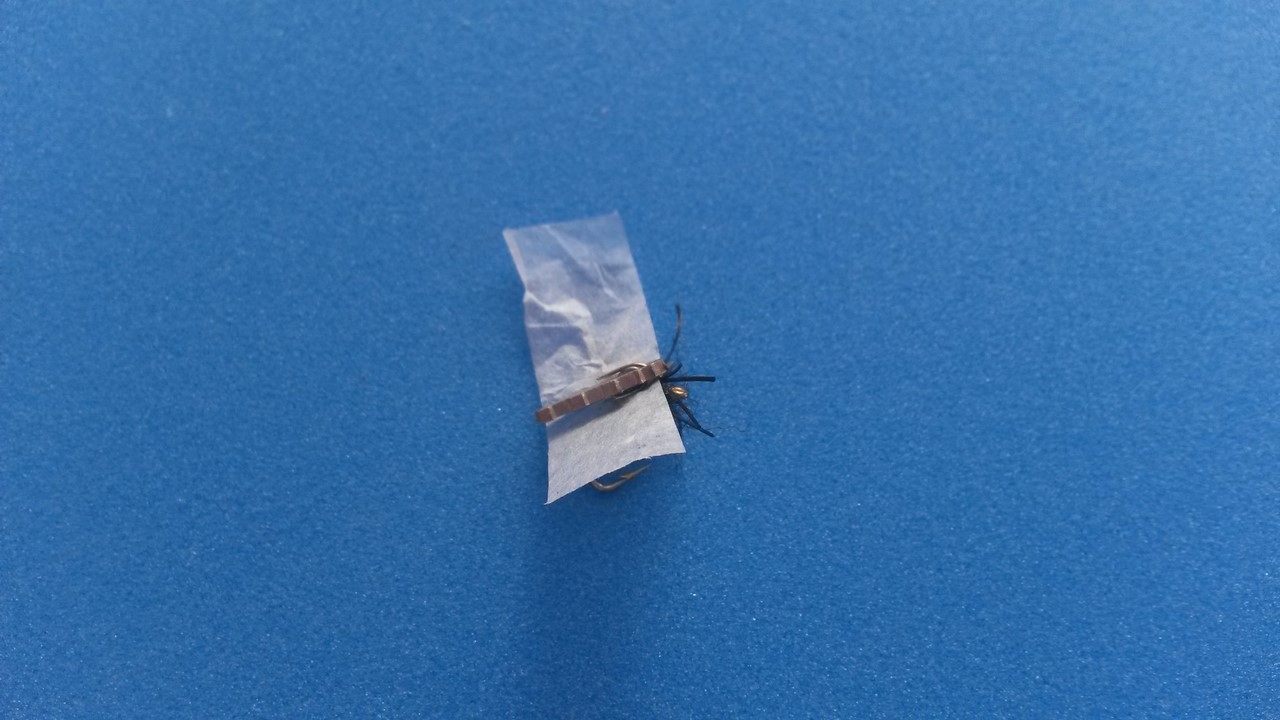
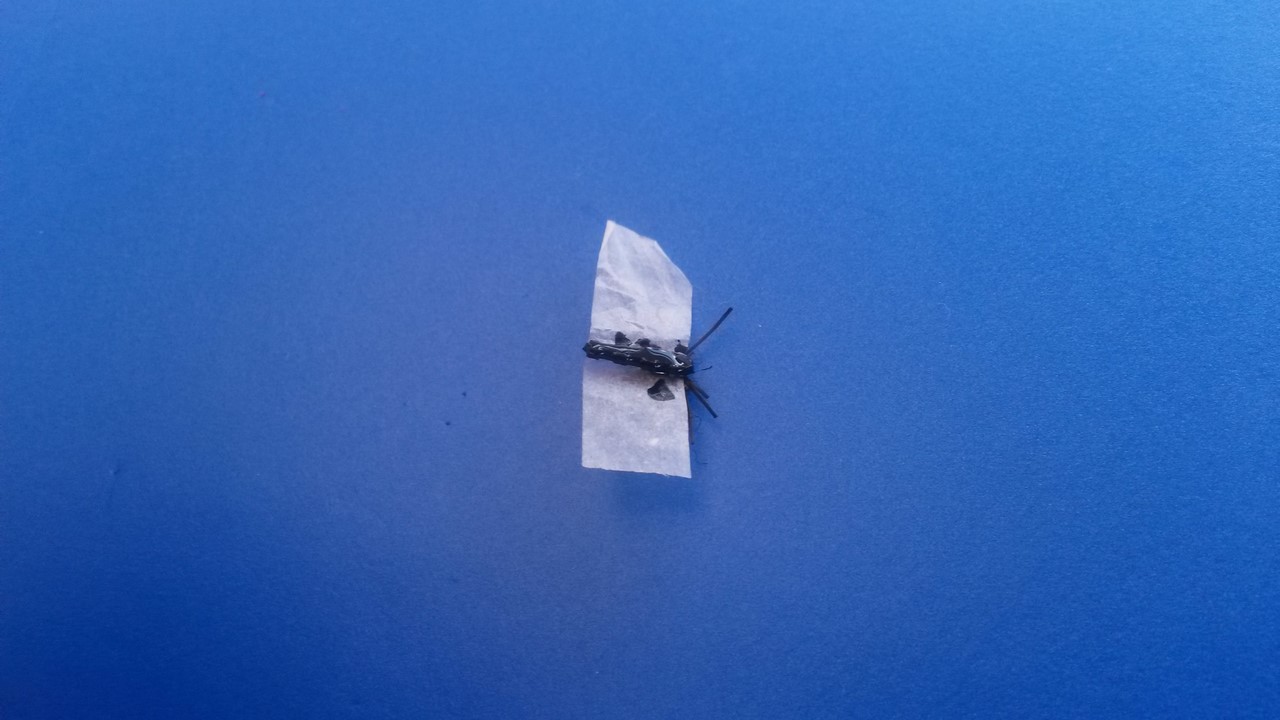
5. The steel back has been coloured (Here I used black nail polish. A sharpie can be used also).
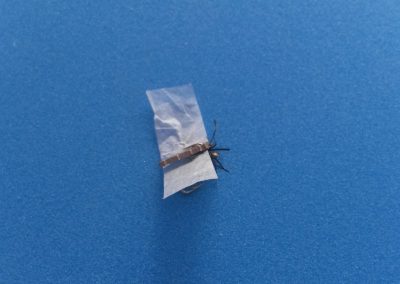
6. The epoxy has been applied.
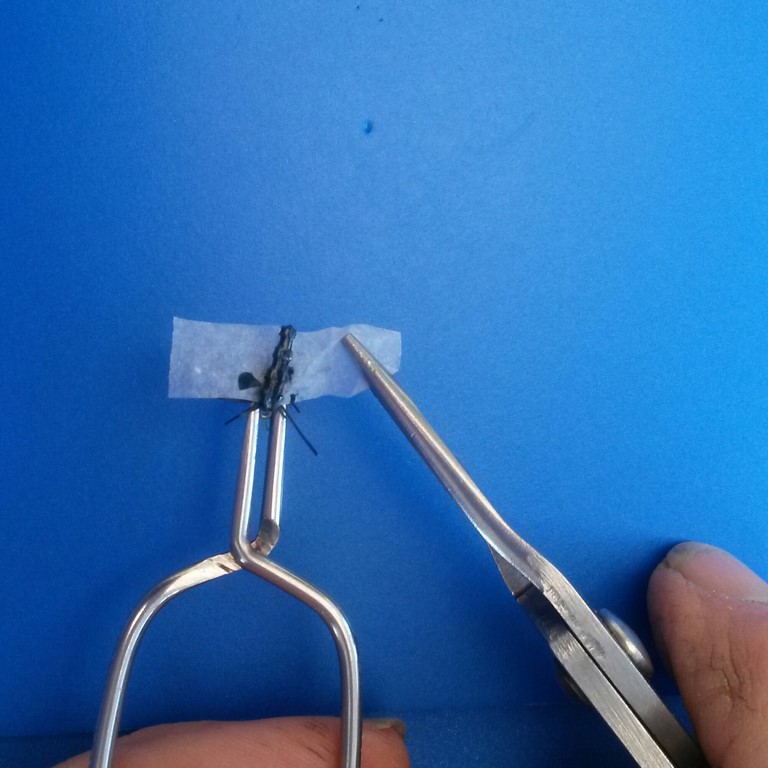
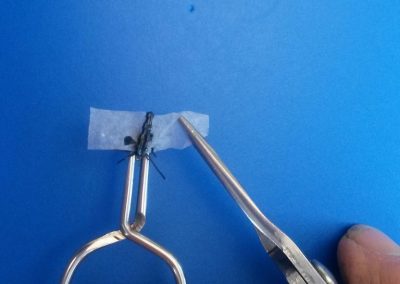
7. To remove the paper, grip one side with long nose pliers while holding the hackle pliers. The paper should tear easily.
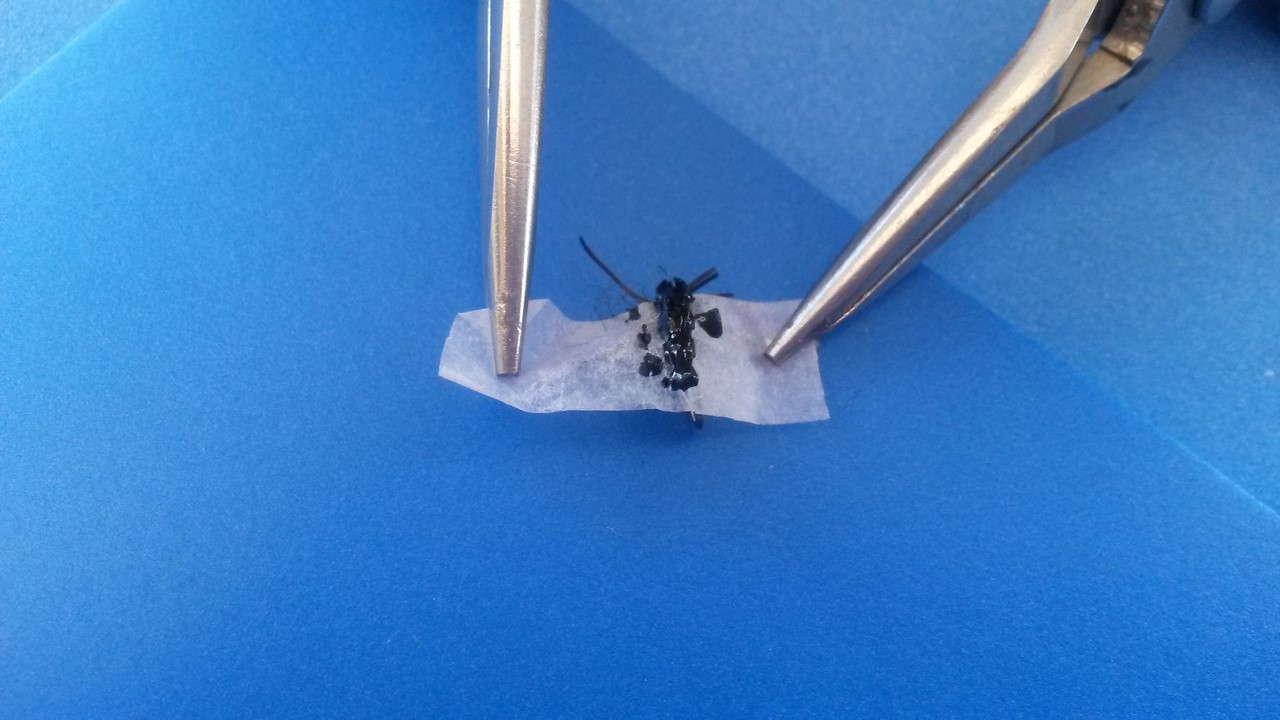
8. If it has become « stuck » use another set of pliers, one on each side and pull to rip paper. The paper should be removed as soon as the epoxy is tacky. If you wait too long it can be difficult to remove!
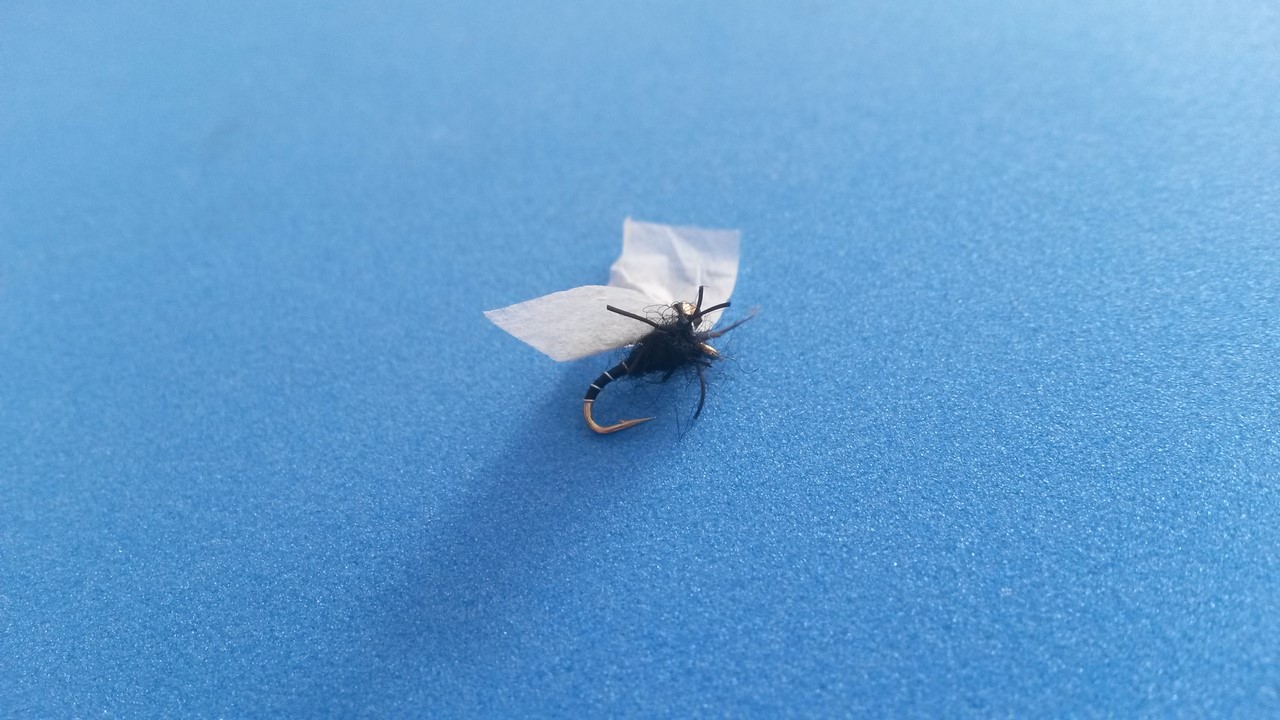
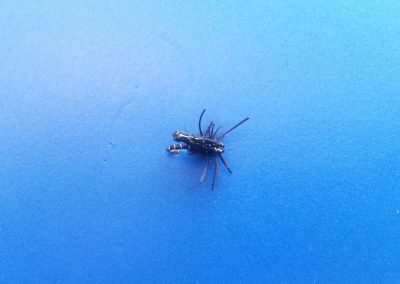
9. The finished SBN. The paper makes it easier to apply the epoxy without getting it on legs and dubbing.
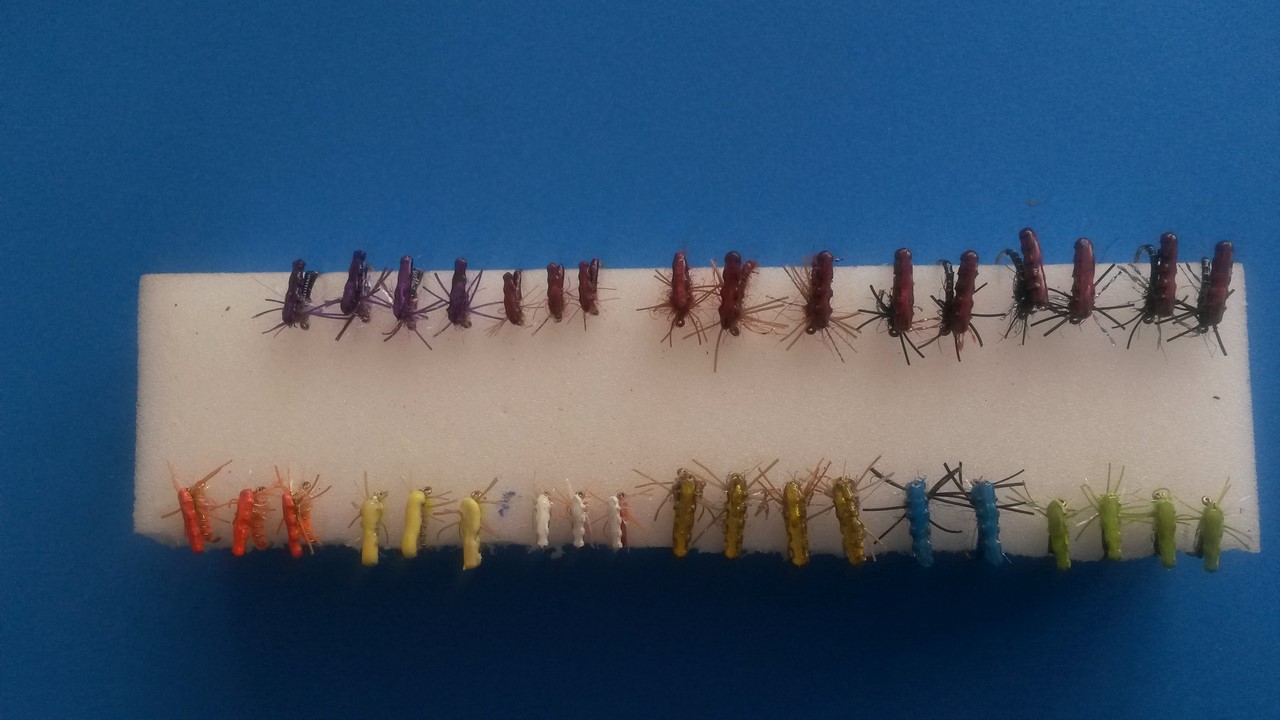
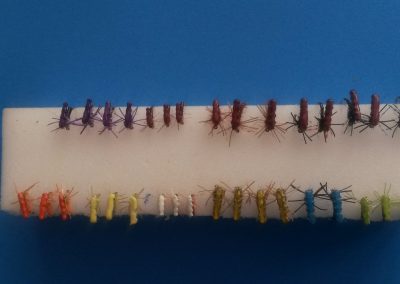
10. These steel backs have been stuck into a block of plastazote to completely dry. Attaching the hackle pliers from the front (hook eye end) makes it easy to pull each nymph into the block.
-
epoxying steel back nymphs 1
-
epoxying steel back nymphs 2
-
epoxying steel back nymphs 3
-
epoxying steel back nymphs 3
-
epoxying steel back nymphs 5
-
epoxying steel back nymphs 6
-
epoxying steel back nymphs 7
-
epoxying steel back nymphs 8
-
epoxying steel back nymphs 9
-
epoxying steel back nymphs 10